
How to: Use the Page Builder
In this article you will learn how to use the Page Builder to build your Experience.
You can also watch this video which explains the steps to take.
Accessing the Page Builder
- Select the Experiences tab in the top navigation and select your Experience.
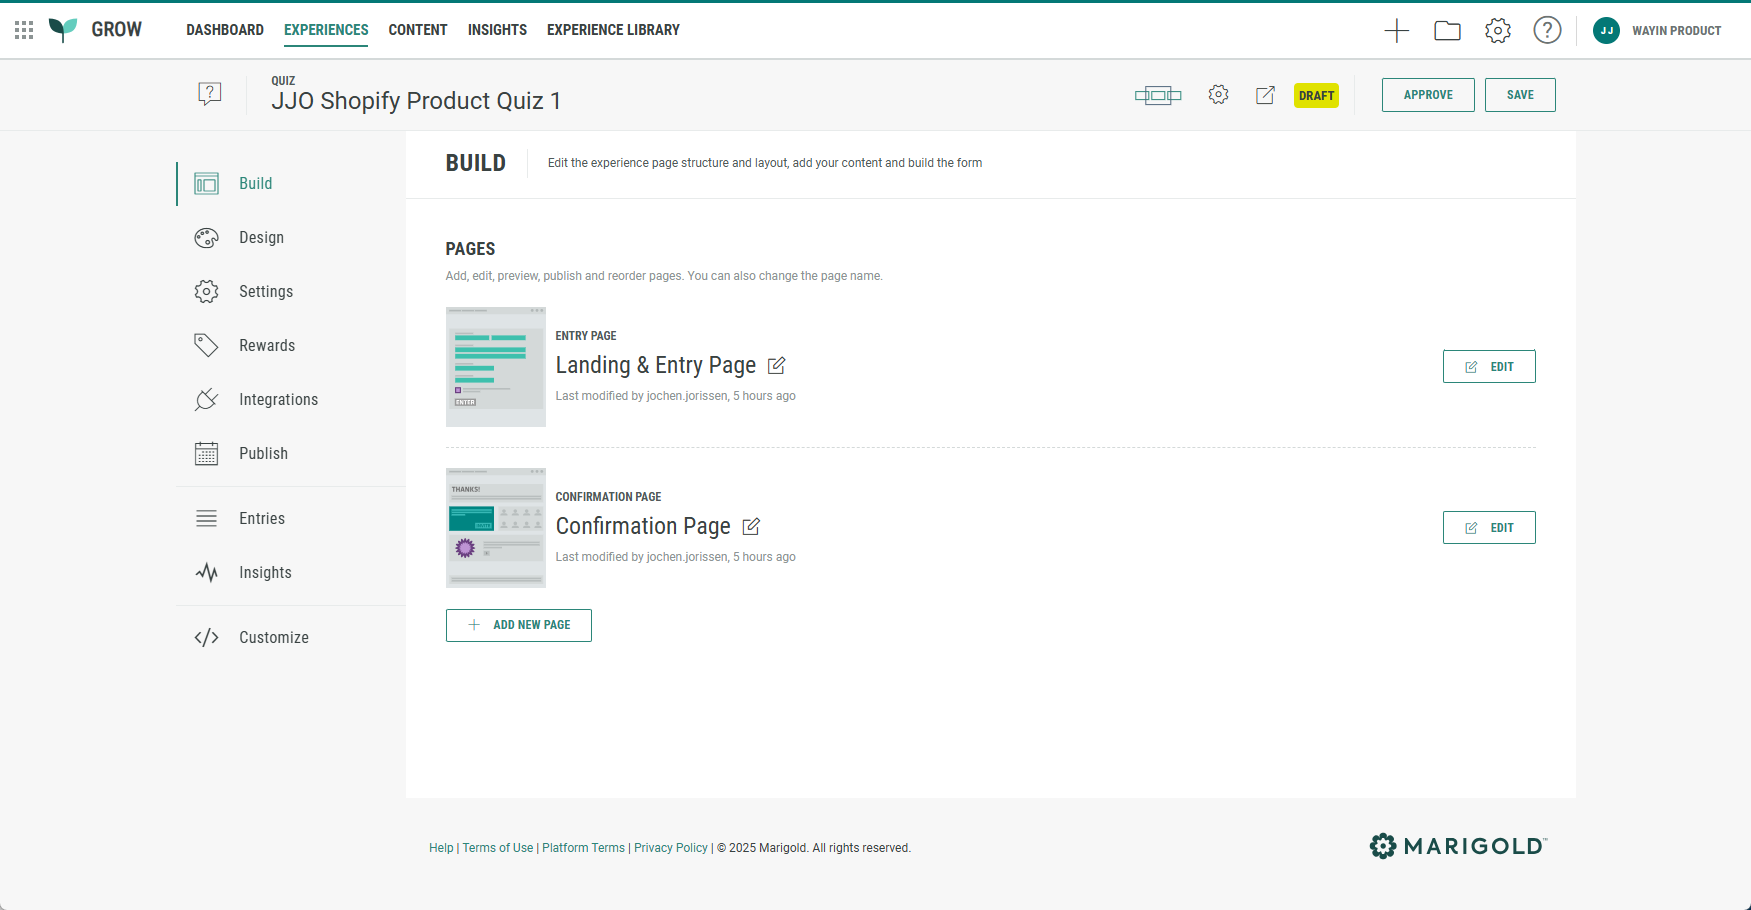
- Click on the Edit button at the right of a page, such as the Landing & Entry Page.

- The Page Builder is shown.
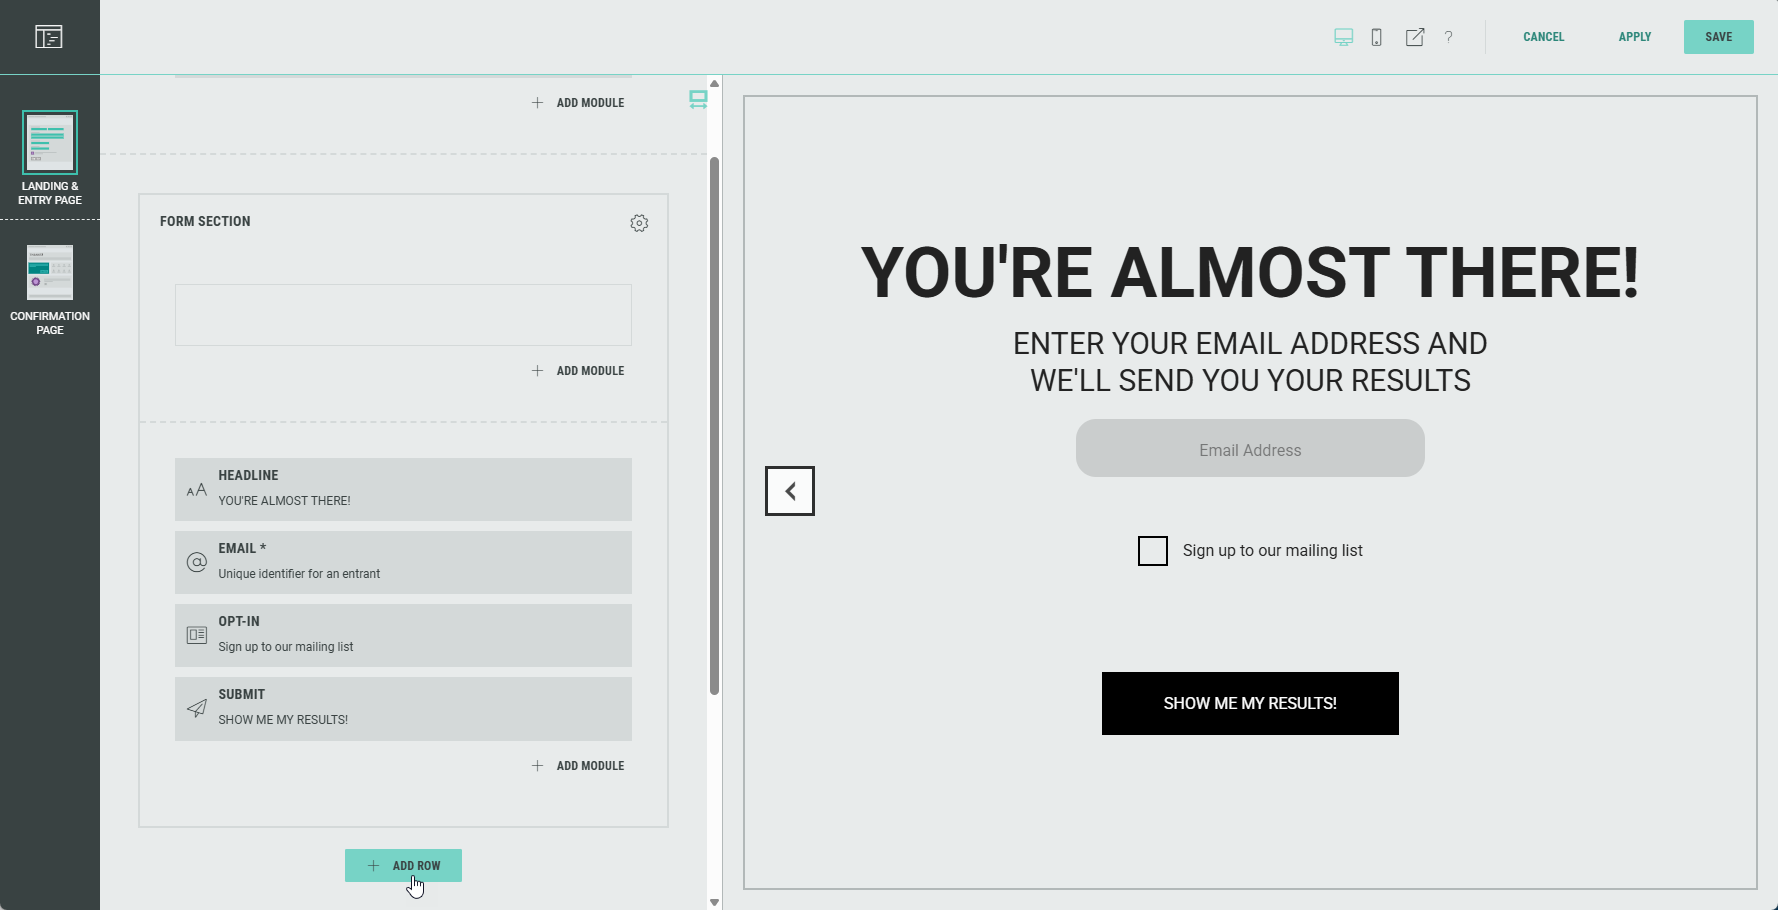
Page Builder actions
At the top-right of the Page Builder, the following actions are available:

|
Desktop view | Preview the Experience in desktop mode. |

|
Mobile view | Preview the Experience in mobile mode. |

|
Preview Experience | Test your Experience to see how it looks like for your visitors. |

|
Screen designer help | Short overview of the Page Builder. |

|
Cancel | Discard your changes and return to the Experience overview. |

|
Apply | Save your changes and continue editing in the Page Builder. |

|
Save | Save your changes and return to the Experience overview. |
Building page-based Experiences
When building a page-based Experience, you can customize the layout of the pages by adding and editing Rows and/or Modules.
Rows
A row is a single- or multi-column layout element that's a container for module elements.
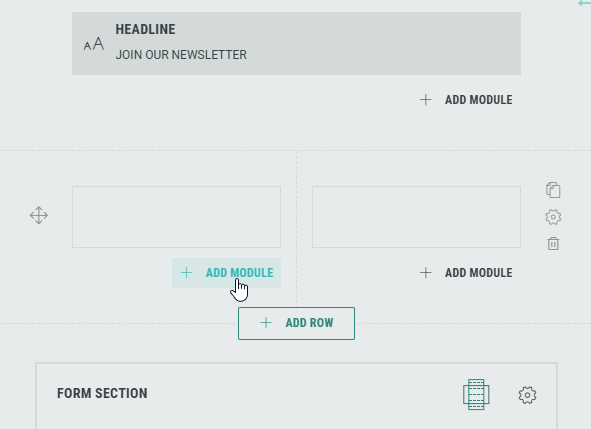
You can add rows by clicking on the + Add Row button (that appears underneath each existing row section).

Example:
Click + Add Row in between the Headline and the Form Section.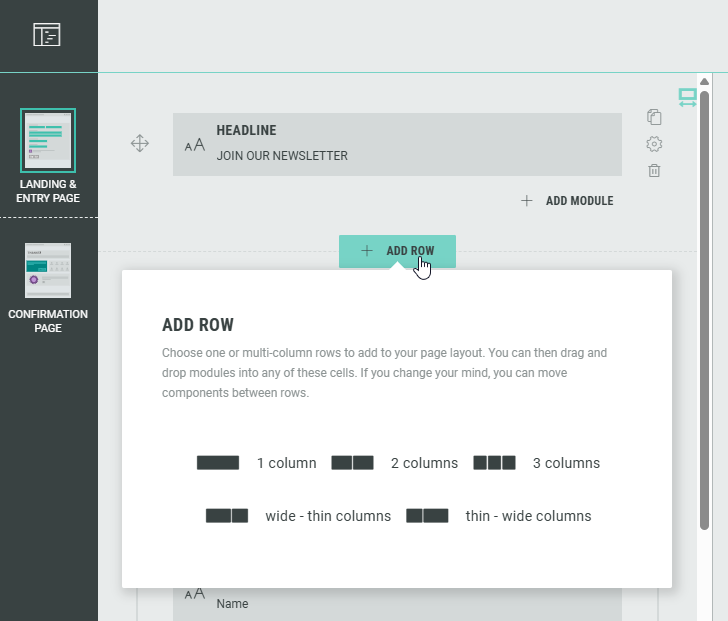
Then select 2 columns.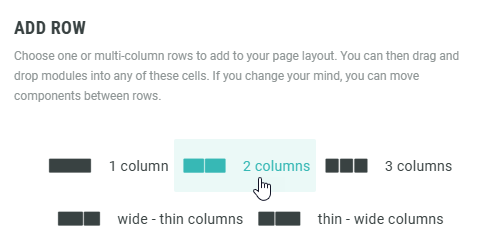
You can now see the added row, containing two columns, in between the Headline and the Form section.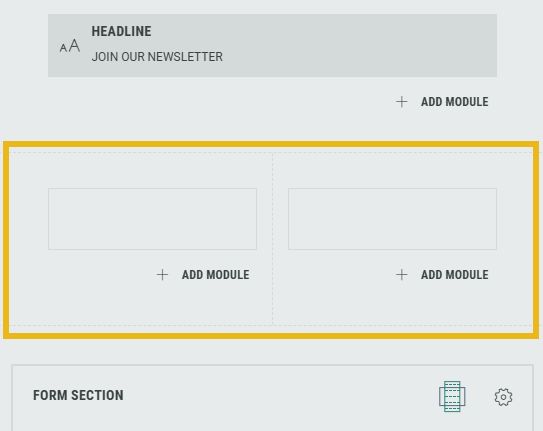
Modules
A module is an element within a row (such as a content block or a form field).
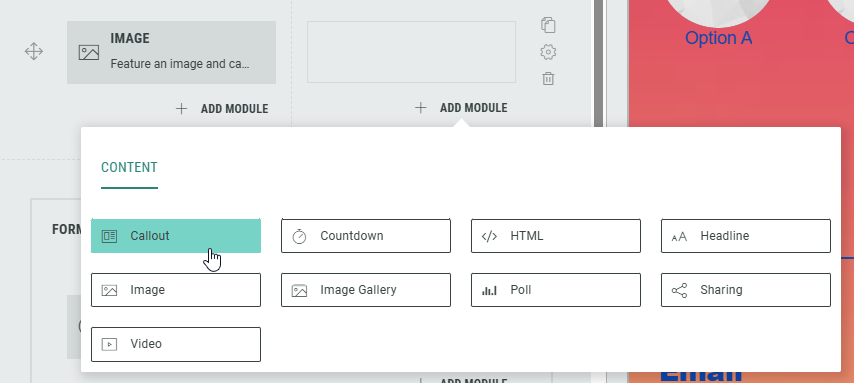
- To add a new module, click the + Add Module button that appears in each row (in each column for a multi-column row layout).
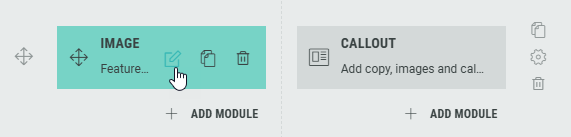
- Continuing from a 2-column row example, let's add an Image module in the left column and a Callout module in the right one.
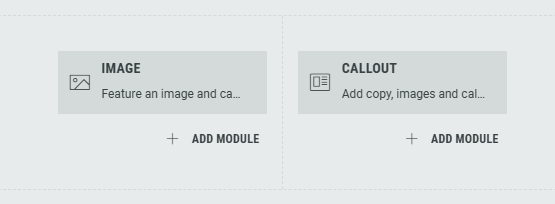
- This results in the following setup:
- Let's now select an actual image for the Image module.
Click on the Pencil icon to edit the image.
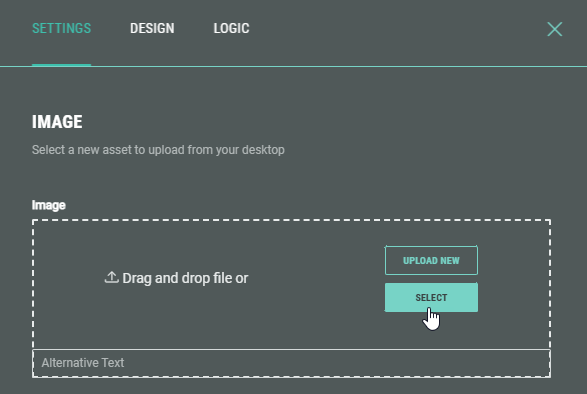
- In the Settings that appear, select an image.
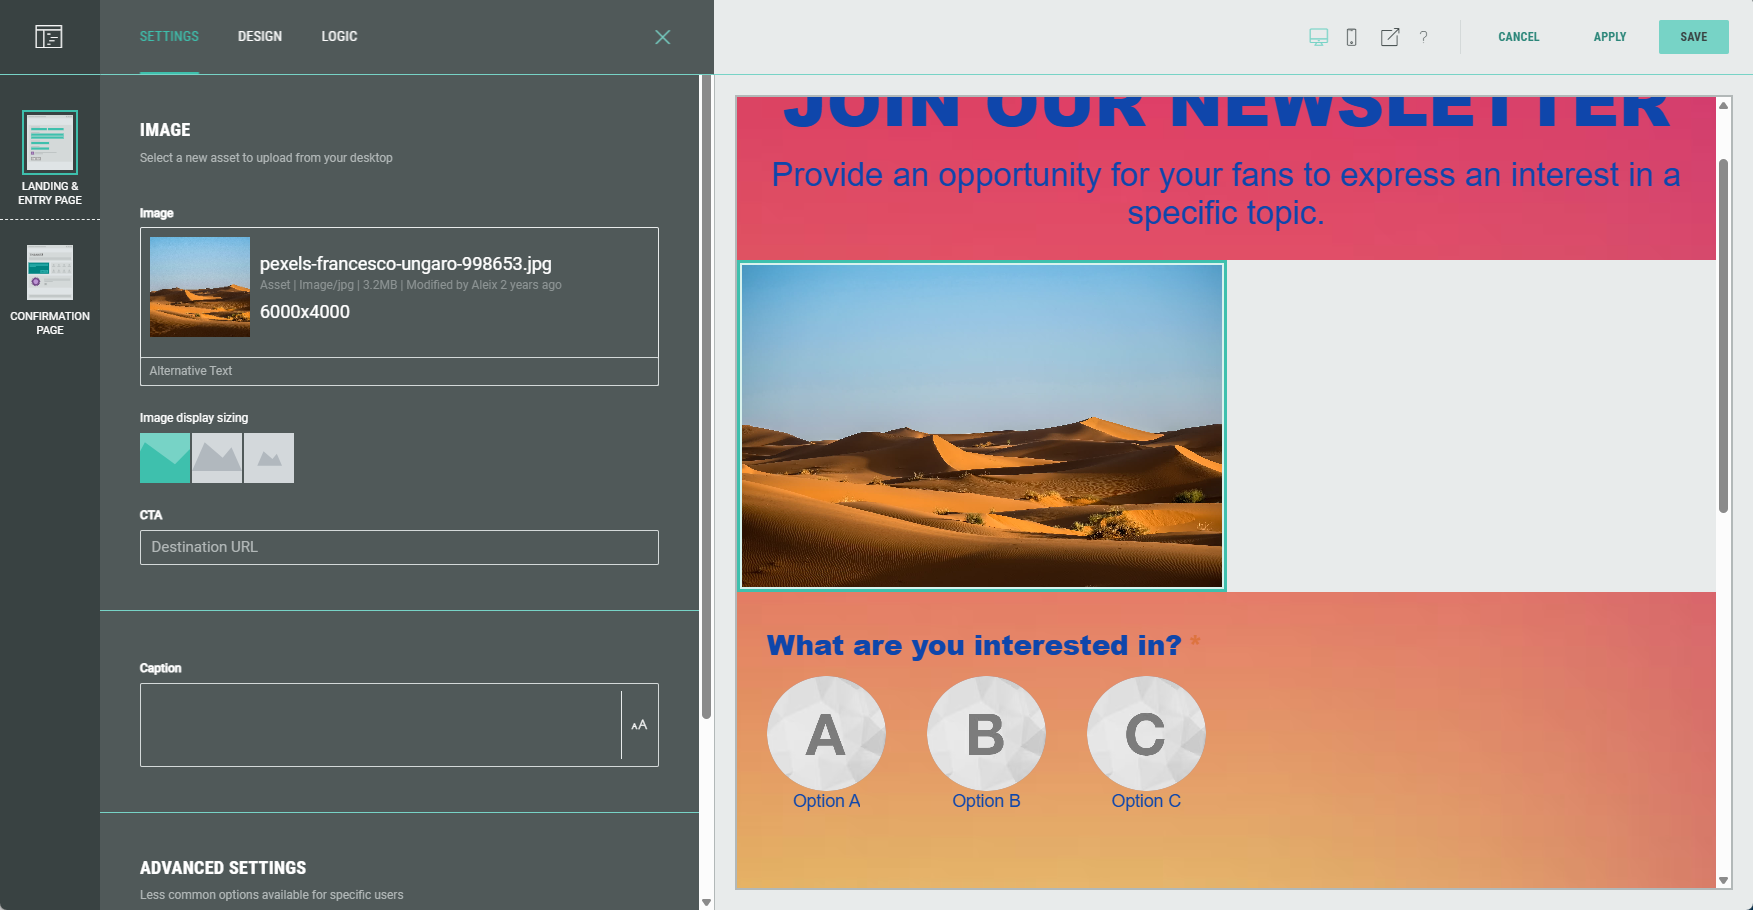
The selected image is visible as a thumbnail in the settings on the left, and in the preview on the right as it will be shown in the Experience to entrants.
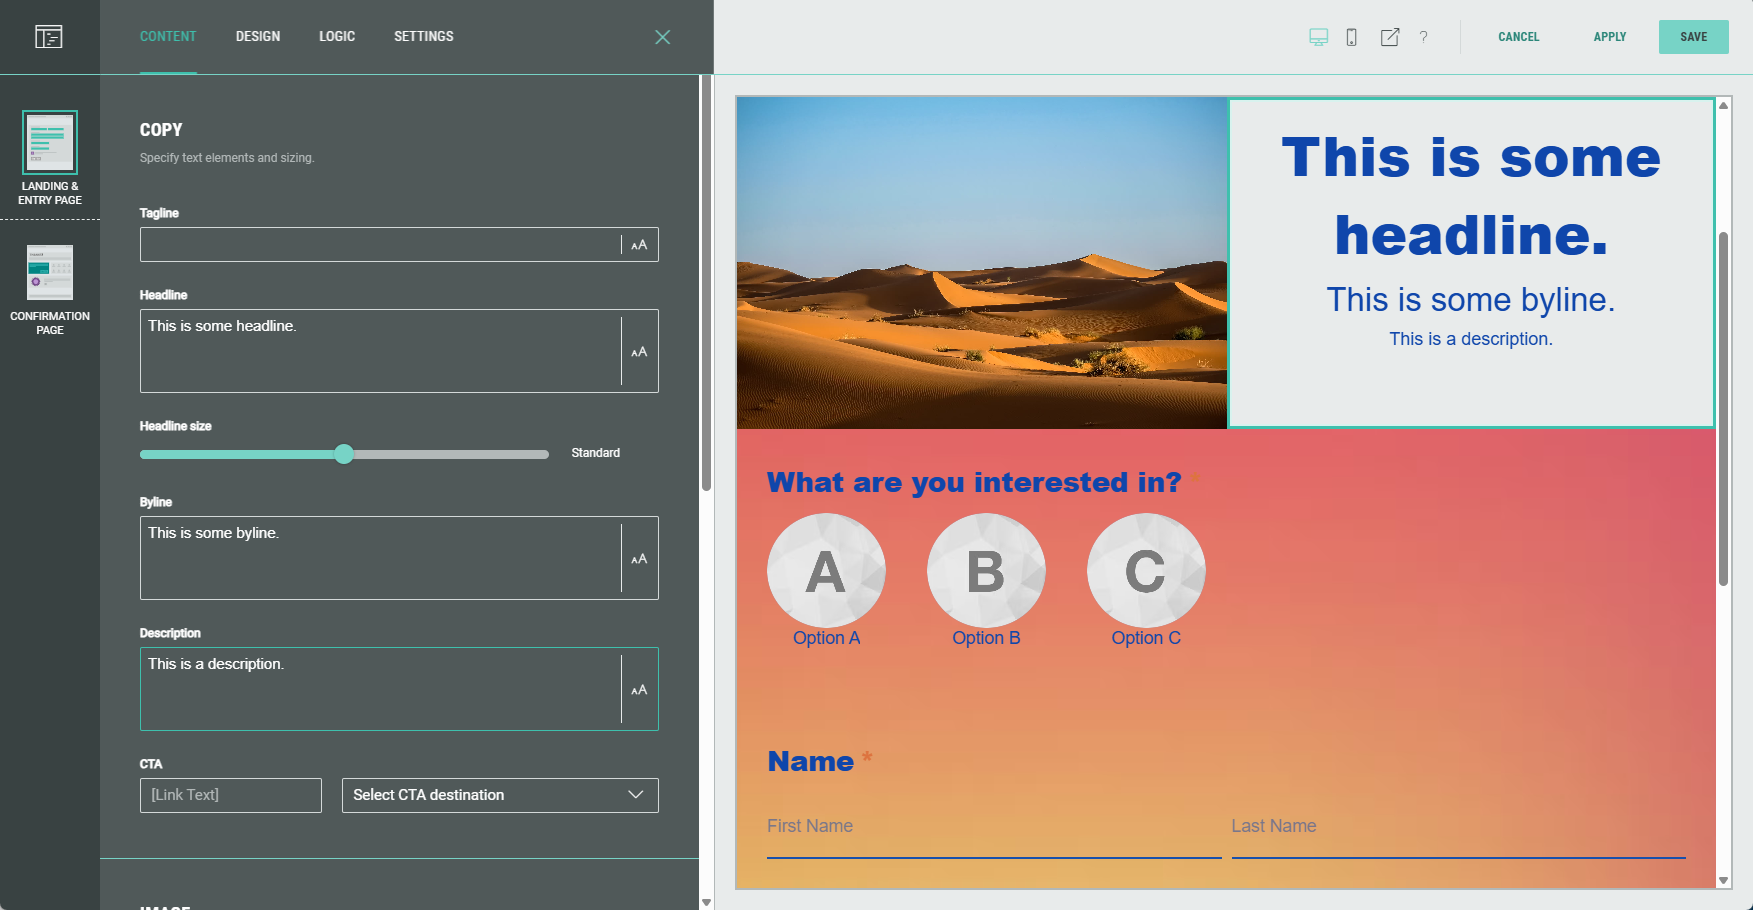
- Let's add some text copy in the Callout module as well.
The preview may then look like this, with an image in the left column, and some text in the right column:
Building slide-based Experiences
Slide-based Experiences are comparable to page-based Experiences, except they use slides instead of rows.
For more info, watch the video at the top of this page.
